
When a pipe freezes and bursts, the situation can feel overwhelming and urgent. You’re suddenly faced with water damage, flooding, and potentially costly repairs, all while trying to figure out the next steps. The risk to your home is immediate, and not knowing how to respond can lead to more extensive damage.
With over 16 years of experience in the plumbing and HVAC industry, we’ve seen it all. We’ve helped countless homeowners through this exact scenario, providing them the tools and knowledge to act quickly and efficiently.
By the end of this article, you’ll know exactly how to handle a burst frozen pipe. From shutting off the water and addressing immediate damage to long-term prevention tips, you’ll be equipped to act confidently and protect your home from further harm.
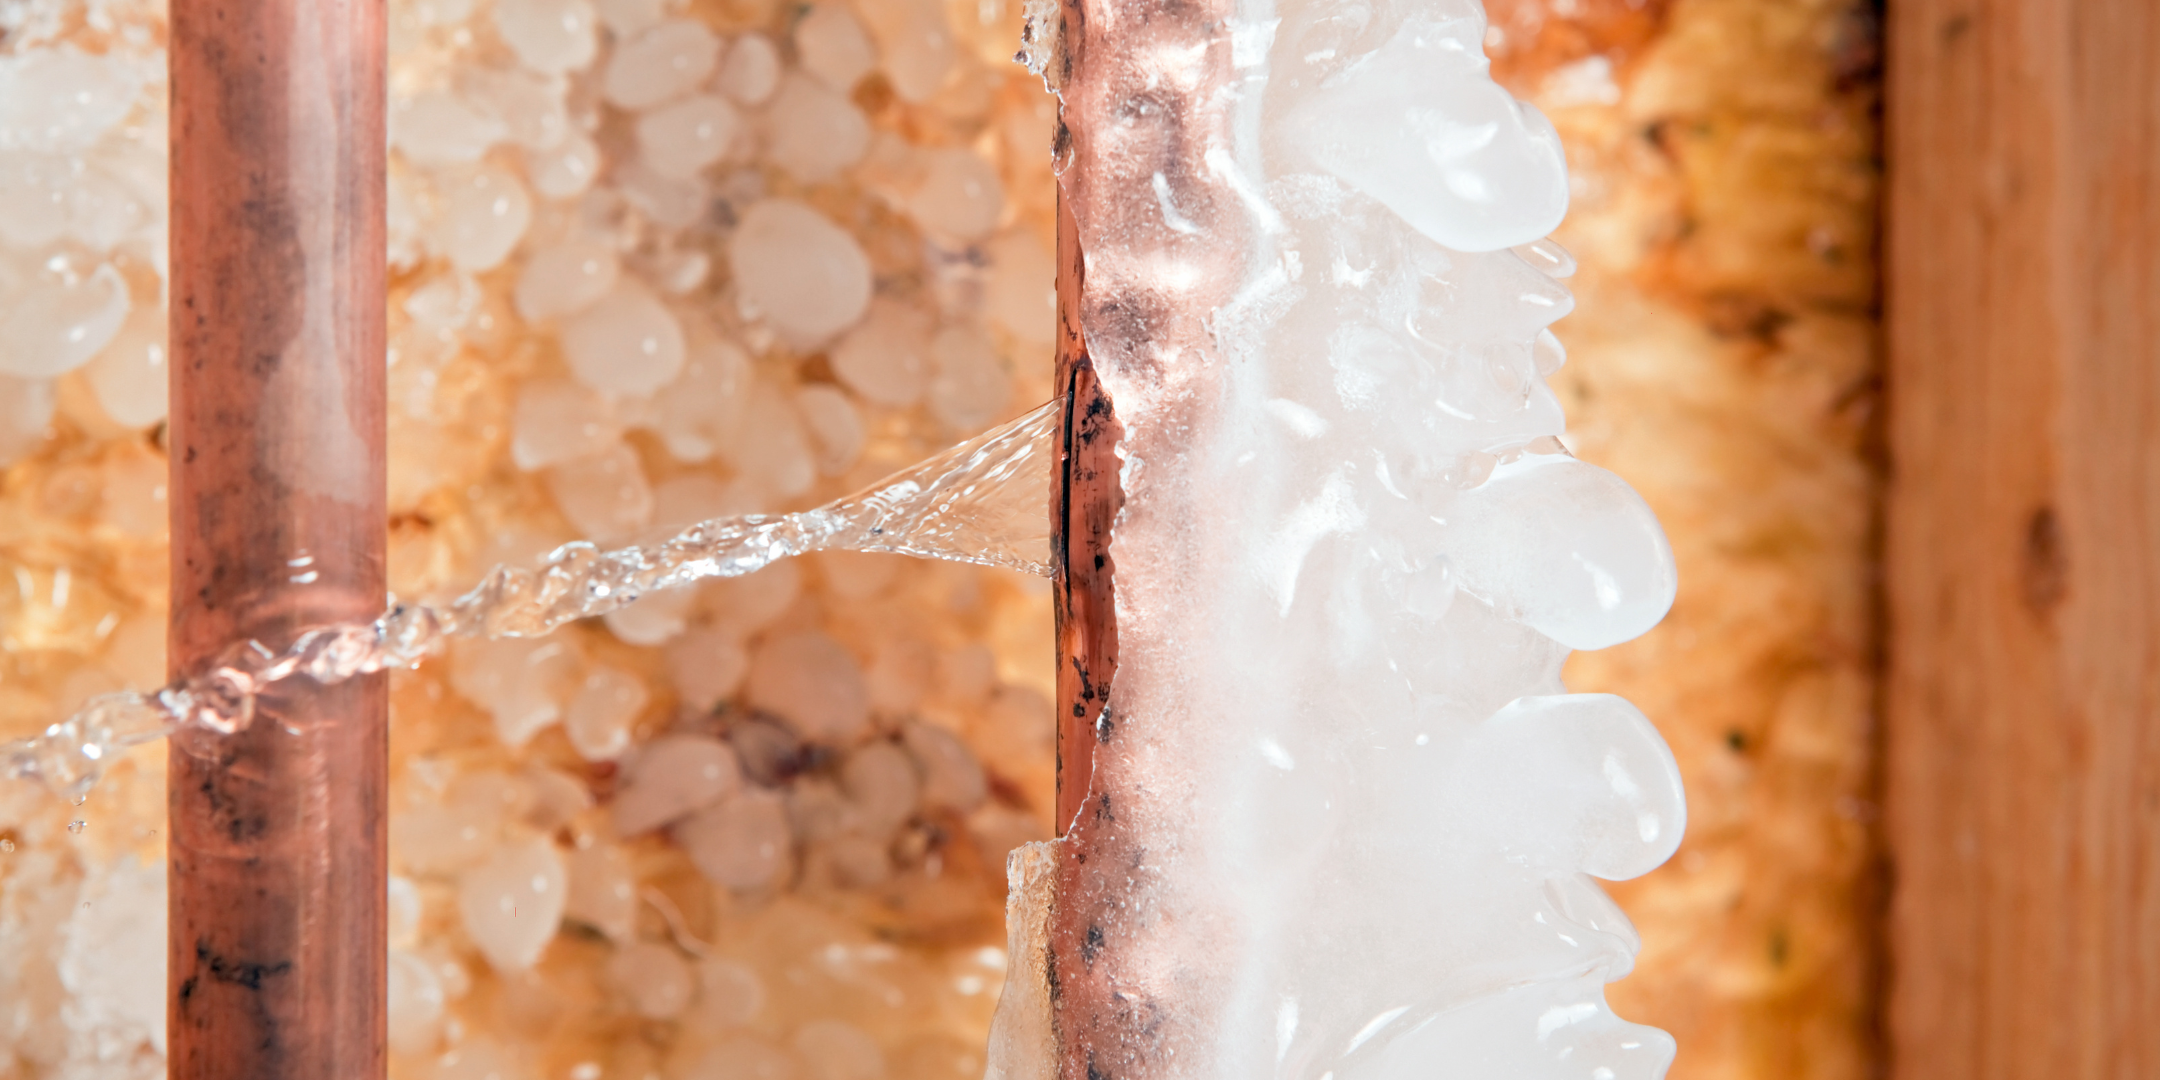
What Happens When a Pipe Freezes?
When water freezes, it expands. If the water inside your pipes freezes, it exerts pressure on the pipe’s walls. Over time, this pressure causes the pipe to crack or burst, leading to a sudden and potentially severe water leak. The most common areas for frozen pipes are in unheated spaces like basements, attics, garages, or along exterior walls.
Immediate Steps to Take When a Pipe Bursts
If you discover a burst frozen pipe, act quickly to minimize damage. Follow these steps:
1. Shut Off the Water Supply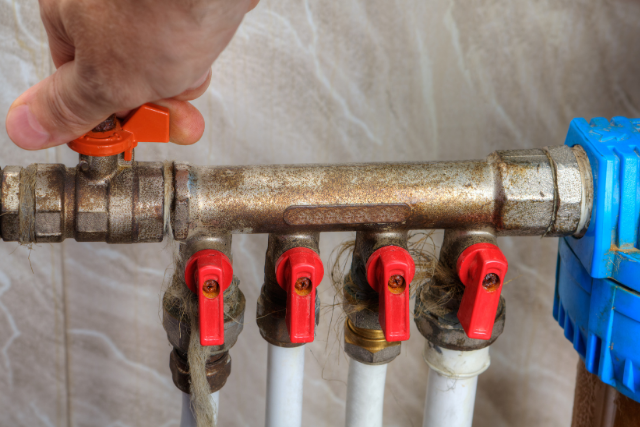
Shutting off the water supply is the most critical first step when dealing with a burst frozen pipe. The moment you notice the burst, locate your home’s main water valve, typically found in a basement, utility room, or near the perimeter of your house. Turn the valve clockwise (to the right) to stop the flow of water immediately, which will prevent further flooding and minimize the damage to your home.
Once the water is off, the burst pipe won’t continue leaking, giving you time to assess the situation and call for help without more water entering the damaged area. It’s important to familiarize yourself with the location of this valve in advance, so you're prepared in case of emergencies. Knowing where to find and how to operate it could save you from extensive and costly repairs.
2. Turn Off Electricity in Affected Areas
Turning off electricity in affected areas is a crucial safety step when dealing with a burst frozen pipe, especially if water has come into contact with electrical outlets, wiring, or appliances. Water is an excellent conductor of electricity, and if it reaches electrical components, it can create a serious risk of electrical shock or even fire. To avoid these dangers, head to your home's main electrical panel and switch off power to the affected area immediately.
Be cautious if water is already pooling near the panel or electrical devices – in these situations, it is safer to contact an electrician to shut off the power. Never attempt to unplug appliances or handle electronics in wet conditions, as this can further increase the risk of electrocution.
Once the electricity is safely turned off, you can focus on addressing the water damage and pipe repairs without the fear of electrical hazards. Ensuring both water and power are managed properly is key to minimizing further damage and ensuring a safe environment.
3. Drain the Water
Opening faucets throughout your home allows the remaining water in the system to drain out, effectively relieving pressure in the pipes. This is important because, once a pipe bursts, any remaining water under pressure can continue to leak out, causing more flooding and damage to your home.
By draining the water, you reduce the volume that could potentially escape from the burst area, giving you more control over the situation. Open both hot and cold faucets to ensure all water is evacuated from the pipes. Flushing the toilets is also a good idea when you have a burst pipe, especially after you've shut off the water supply. Flushing helps release water stored in the toilet tank and pipes, further reducing pressure in the plumbing system.
This not only reduces immediate leakage but also helps prevent more cracks from forming in other areas due to pressure buildup. Additionally, draining the water allows plumbers to work more effectively when they arrive, as there will be less water to deal with during repairs.
4. Locate the Burst Pipe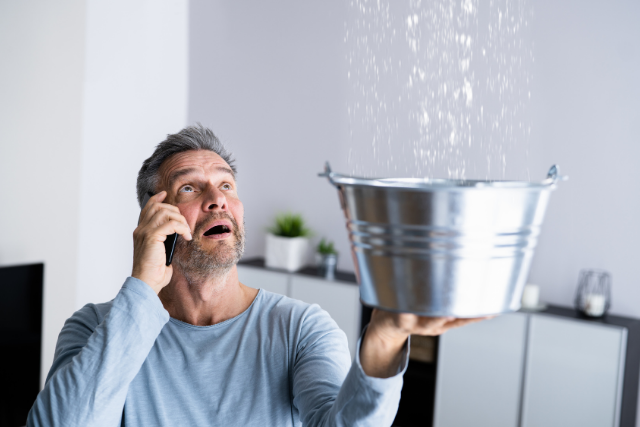
After shutting off the water and draining it from the pipes, your next task is to find where the burst has occurred. Start by inspecting areas prone to freezing, such as basements, crawl spaces, attics, or exterior walls. Look for visible signs like water stains, wet spots on walls or ceilings, or pools of water. In some cases, the leak may not be immediately visible. Listen carefully for sounds of dripping or hissing as these can help you pinpoint the exact location of the burst.
Once you've located the burst pipe, temporarily stop the leak to minimize further damage. You can do this by placing a bucket under the leak to catch water and prevent it from spreading. Wrap the damaged section with a towel or duct tape to temporarily slow the flow of water until a plumber can make permanent repairs.
5. Call a Professional Plumber
While you can take immediate steps to stop water flow and prevent further damage, a licensed plumber is essential to properly repair or replace the damaged pipe. A burst pipe often requires more than just a patch or temporary fix – plumbers have the expertise and tools to fully assess the situation, ensuring there are no hidden issues like hairline fractures or other weaknesses in the plumbing system.
How to Repair a Burst Pipe
Repairing a burst pipe requires immediate action to prevent further water damage, but while you wait for a professional plumber, there are a few temporary solutions you can use to control the leak:
1. Pipe Clamps or Epoxy Putty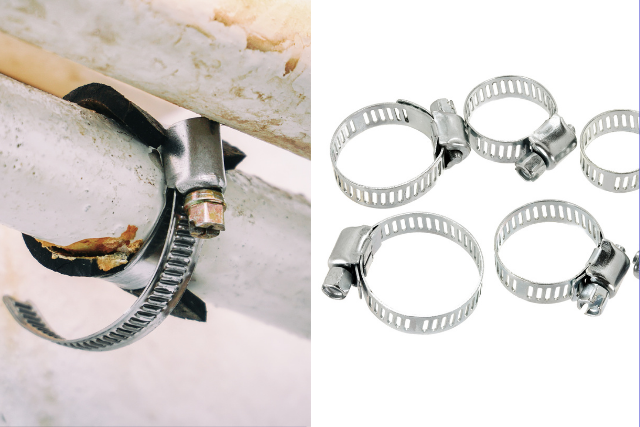
Pipe Clamps: Pipe clamps consist of a metal clamp with rubber gaskets that tightly compress around the pipe to stop the leak. The cost of a basic pipe clamp ranges from $5 to $30 depending on the size and type of material. Higher-quality or larger clamps, often used for larger pipes, can be more expensive.
Epoxy Putty: Epoxy putty can also be molded around the leak to create a seal once it hardens. Both are effective, but they only offer temporary fixes until a professional can repair the damage. This is a more affordable option, typically ranging from $5 to $15 for a small tube. Brands like JB Weld or Oatey provide reliable products in this range.
2. Rubber and Hose Clamp Method
This DIY method involves using a rubber pad (like a piece of a bicycle inner tube) placed over the burst area. Secure it tightly with a hose clamp or similar adjustable clamp to slow or stop the leak. This works well for smaller pipe bursts but should only be used as a short-term measure.
Rubber Pad: You can create a rubber pad using repurposed items like a bicycle inner tube or rubber sheeting, which can cost $5 to $10.
Hose Clamps: A standard hose clamp usually costs between $1 to $5, depending on the size. You may need multiple clamps for a more secure fit, which would increase the overall cost.
3. Pipe Tape
Self-fusing pipe tape is another useful option. When wrapped tightly around the burst pipe, it adheres to itself and creates a seal that can hold until a plumber arrives. Like the other methods, it’s a stop-gap solution to minimize damage.
This specialized tape costs between $5 to $20, depending on the brand and length. It’s available at most hardware stores and is designed for easy application in emergency situations.
Remember, while these methods help control the immediate problem, they don’t replace the need for a full professional repair. Burst pipes are usually a sign of a larger issue, such as freezing or pressure build-up, which will need to be addressed to prevent future bursts.
Knowing How to Prevent Future Pipe Bursts
Now that you understand how to handle a burst frozen pipe, it’s time to focus on prevention. You’ve taken the necessary steps to stop the immediate damage, but protecting your home for the long term is the next critical move. The next step is to learn how to prevent pipes from freezing and bursting again.
At this stage, you need more than just a temporary solution; it’s about safeguarding your home against future risks. Don’t wait for the next freeze – take steps now to protect your home for years to come: check out our guide, “How to Prevent Freezing and Bursting Pipes This Winter.” In this article, you’ll find the best preventive measures, from pipe insulation to maintaining steady heat throughout your home.
Topics: