
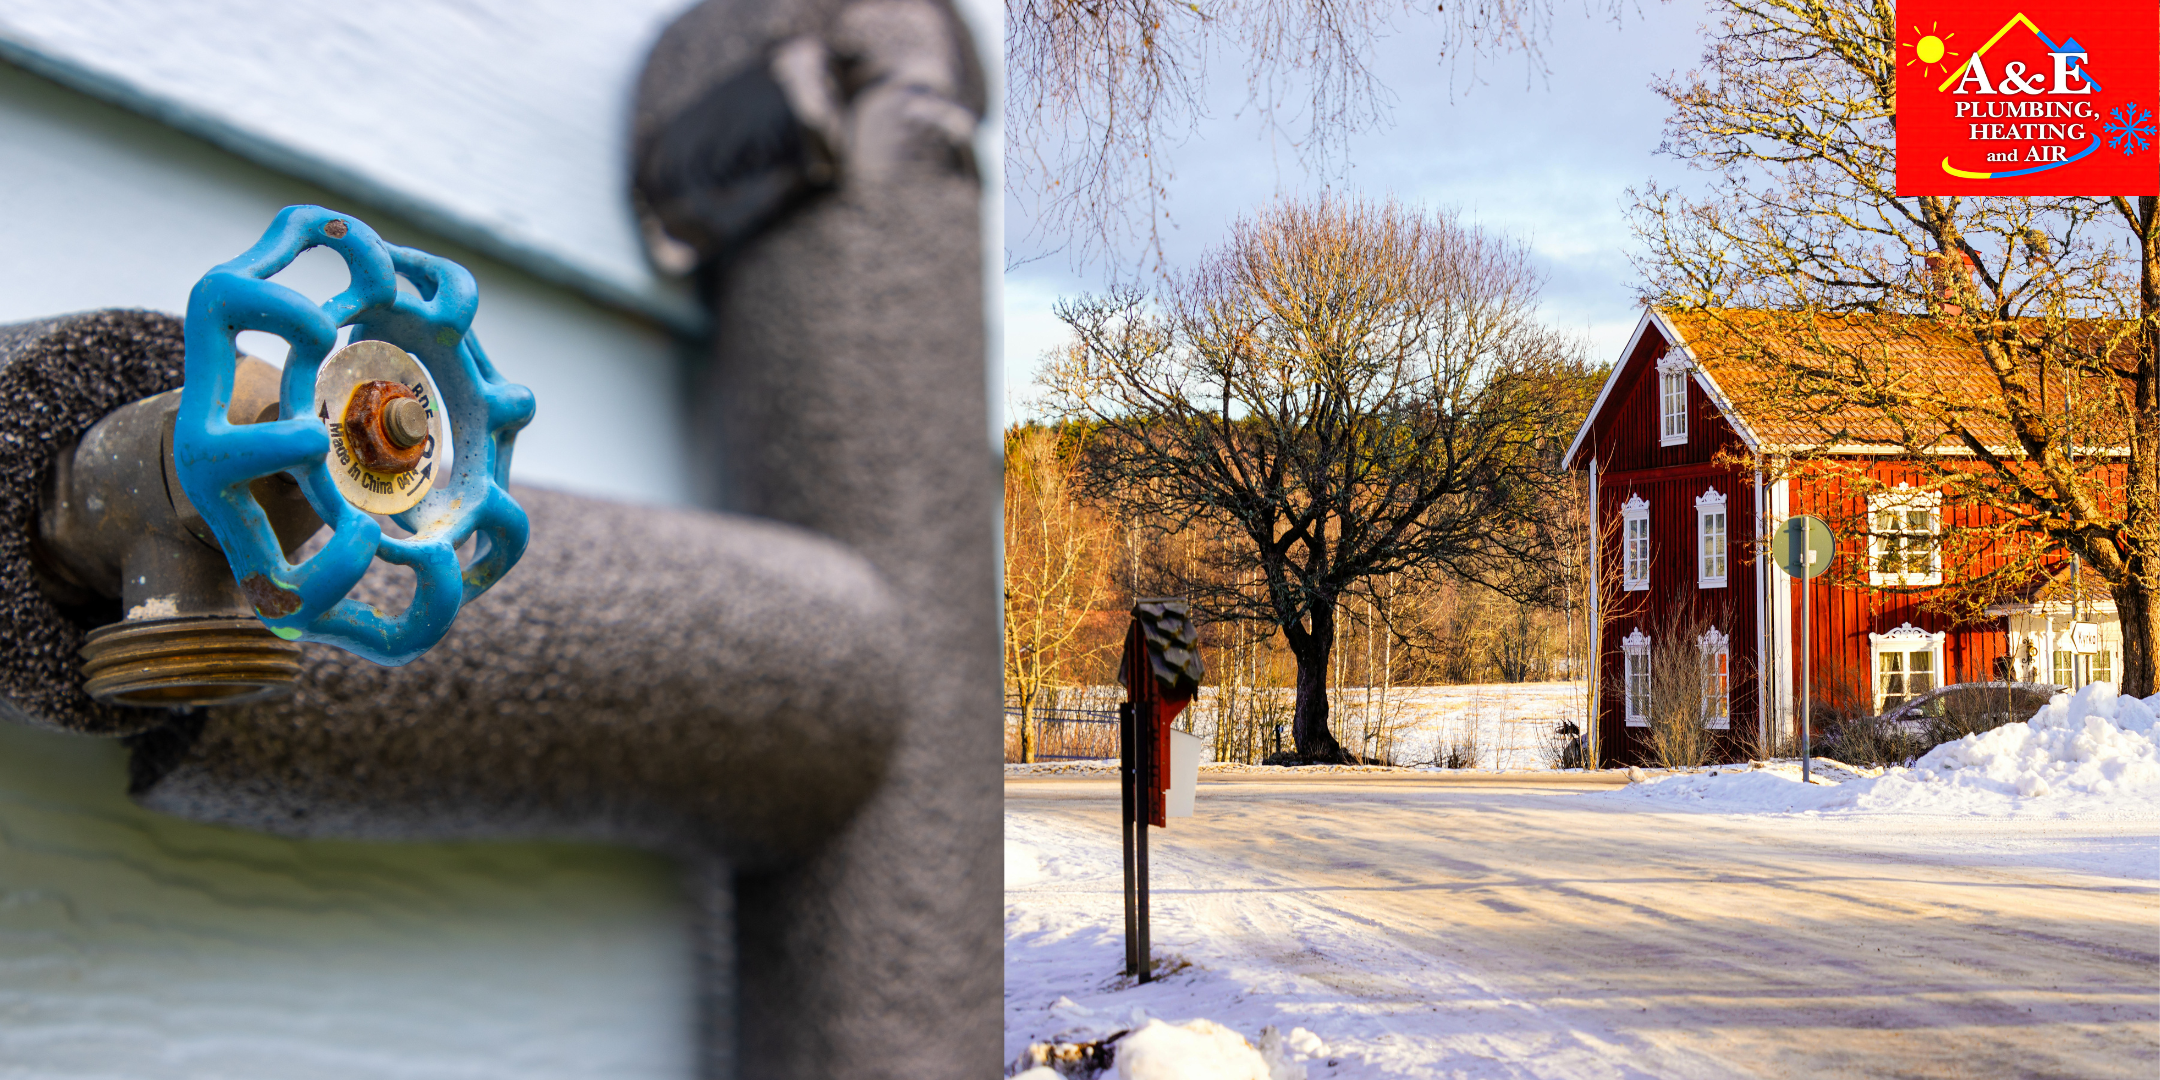
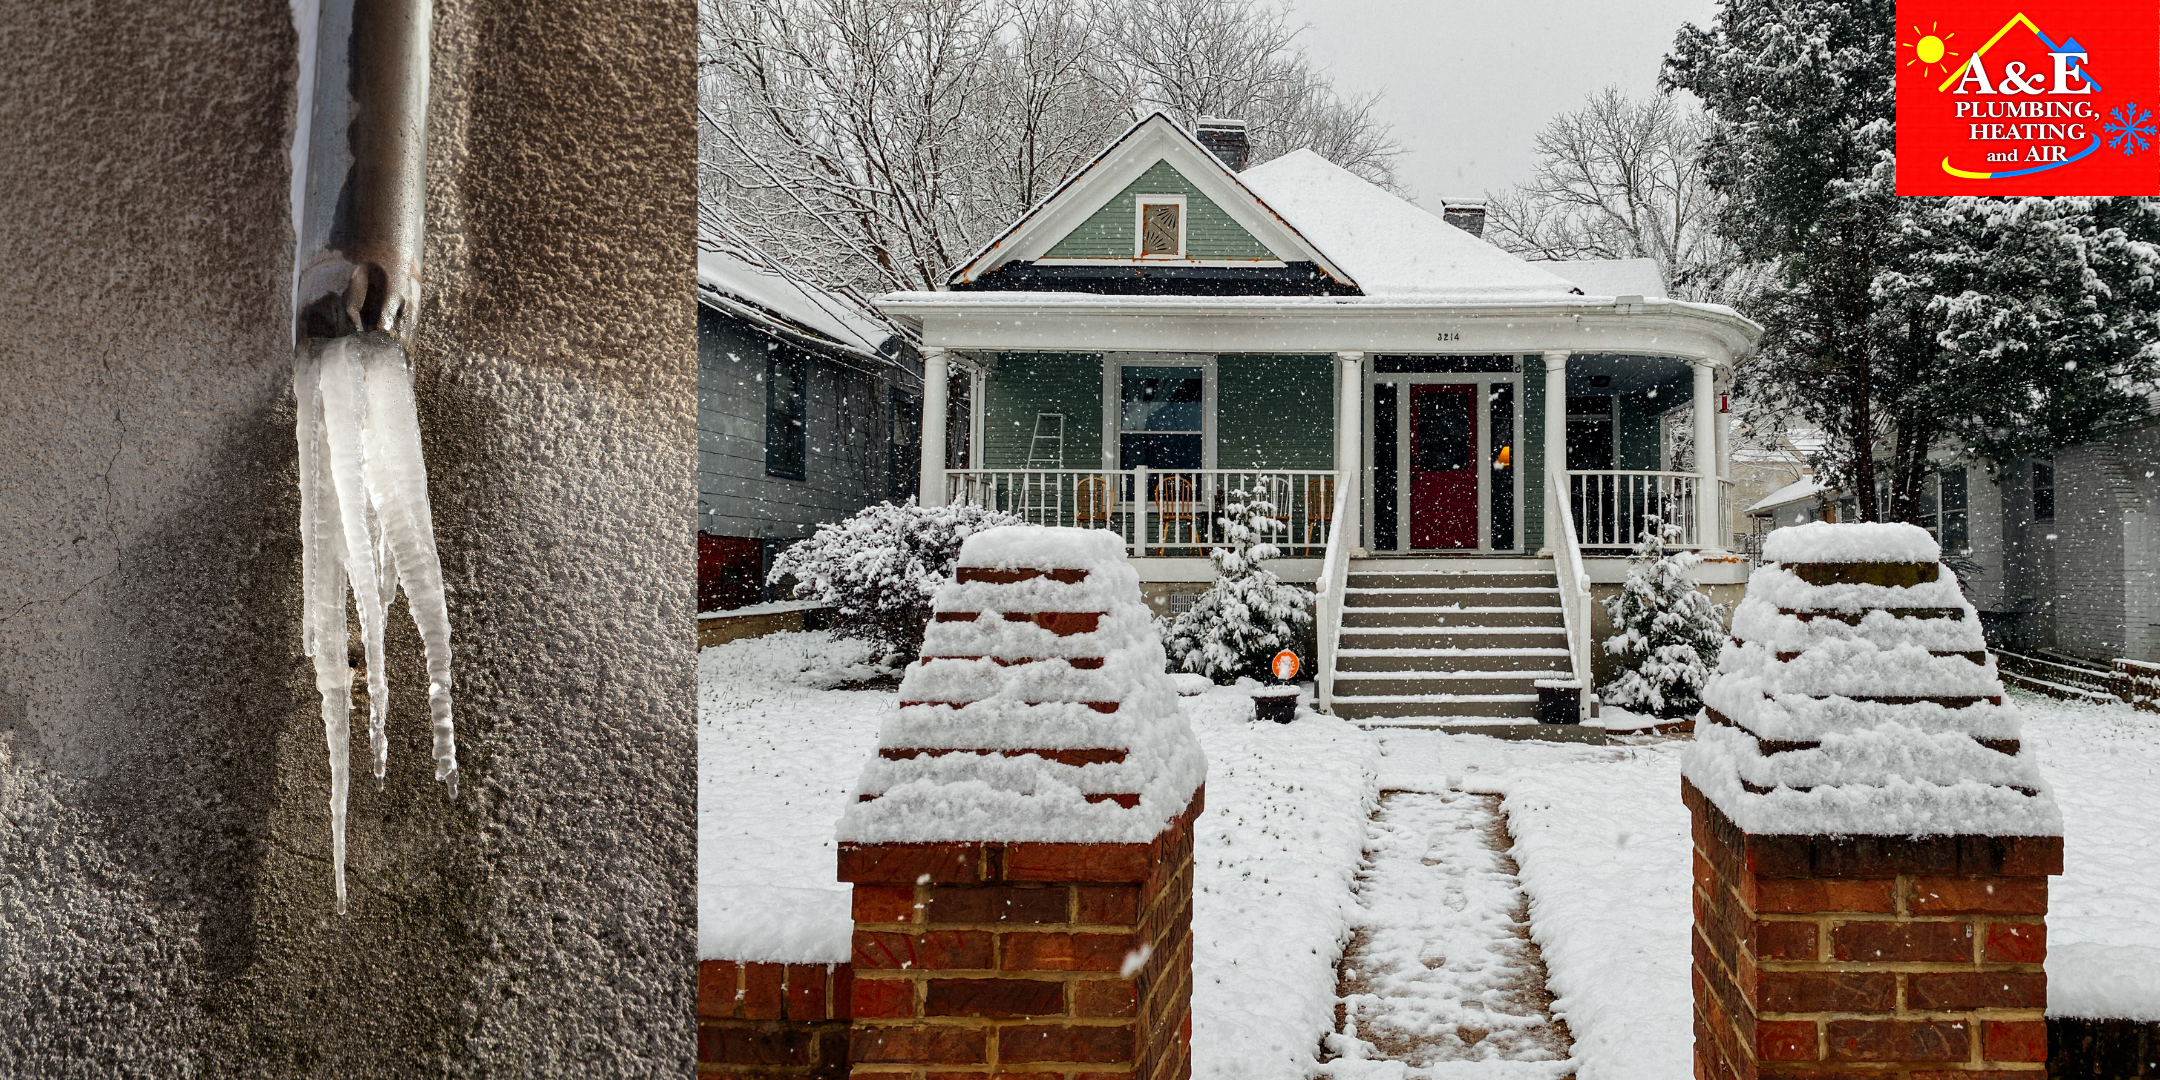
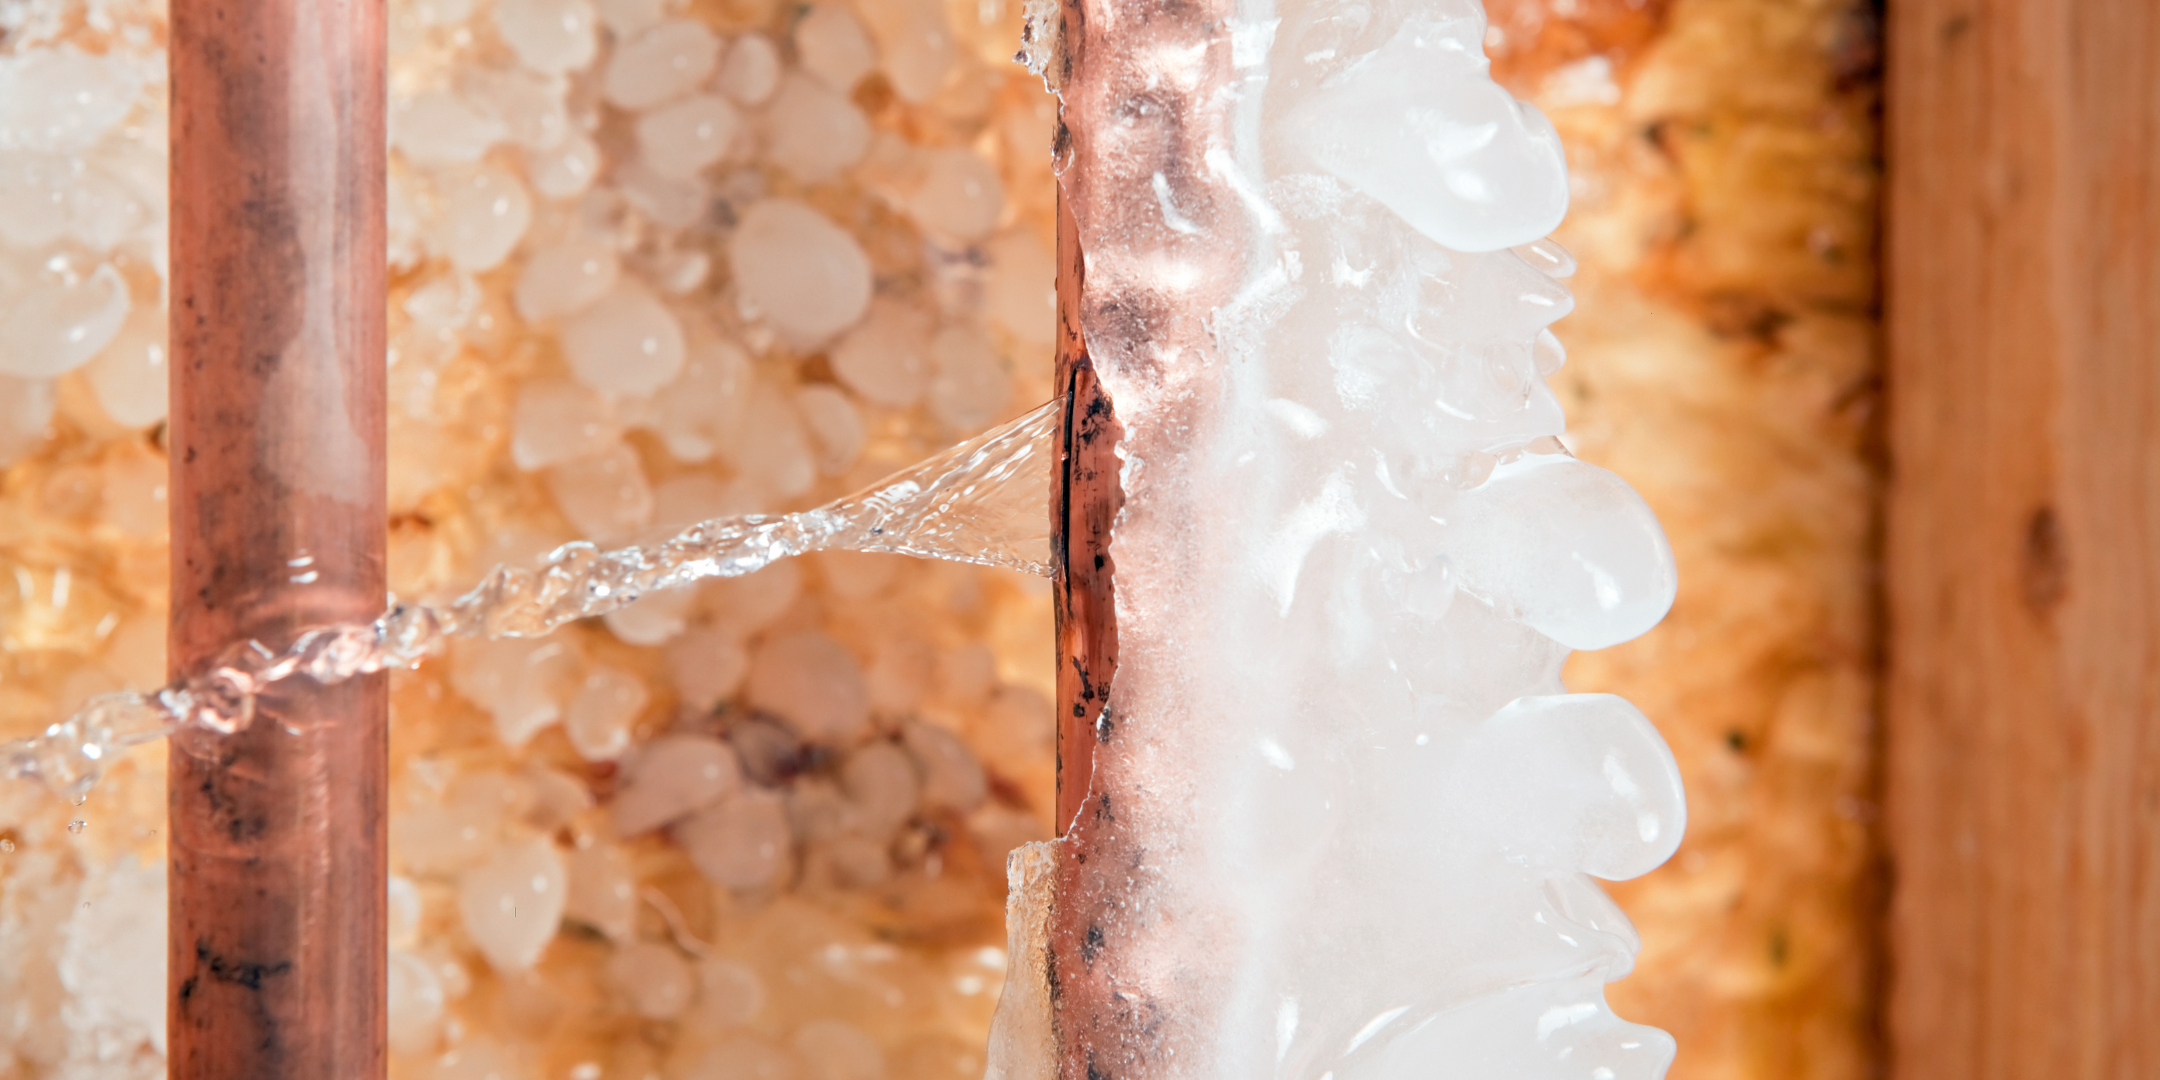
Frozen pipes aren’t just inconvenient—they’re expensive. A single crack can lead to water damage, ruined flooring, and a repair bill that no one wants right before the holidays. The good news? Preventing frozen pipes is a lot easier than dealing with them after the fact.
By the end of this article, you’ll know exactly how to:
- Spot the early warning signs before your pipes freeze.
- Decide whether heat tape or heat cables are the right choice for your home.
- Protect your plumbing long-term so you’re not calling in emergency help at 2 a.m.
And here’s why you can trust what you’re reading: we’ve spent over 17 years serving homeowners across Oregon and Washington—from the Gorge to the Portland and Gresham Metro. We’ve installed and maintained more heat cables than we can count, and we’ve guided countless families through winter prep so they can enjoy a stress-free season.
So, whether you’re sipping coffee in your kitchen or rushing kids out the door, you’ll walk away with the know-how to keep your pipes warm, safe, and drama-free this winter.
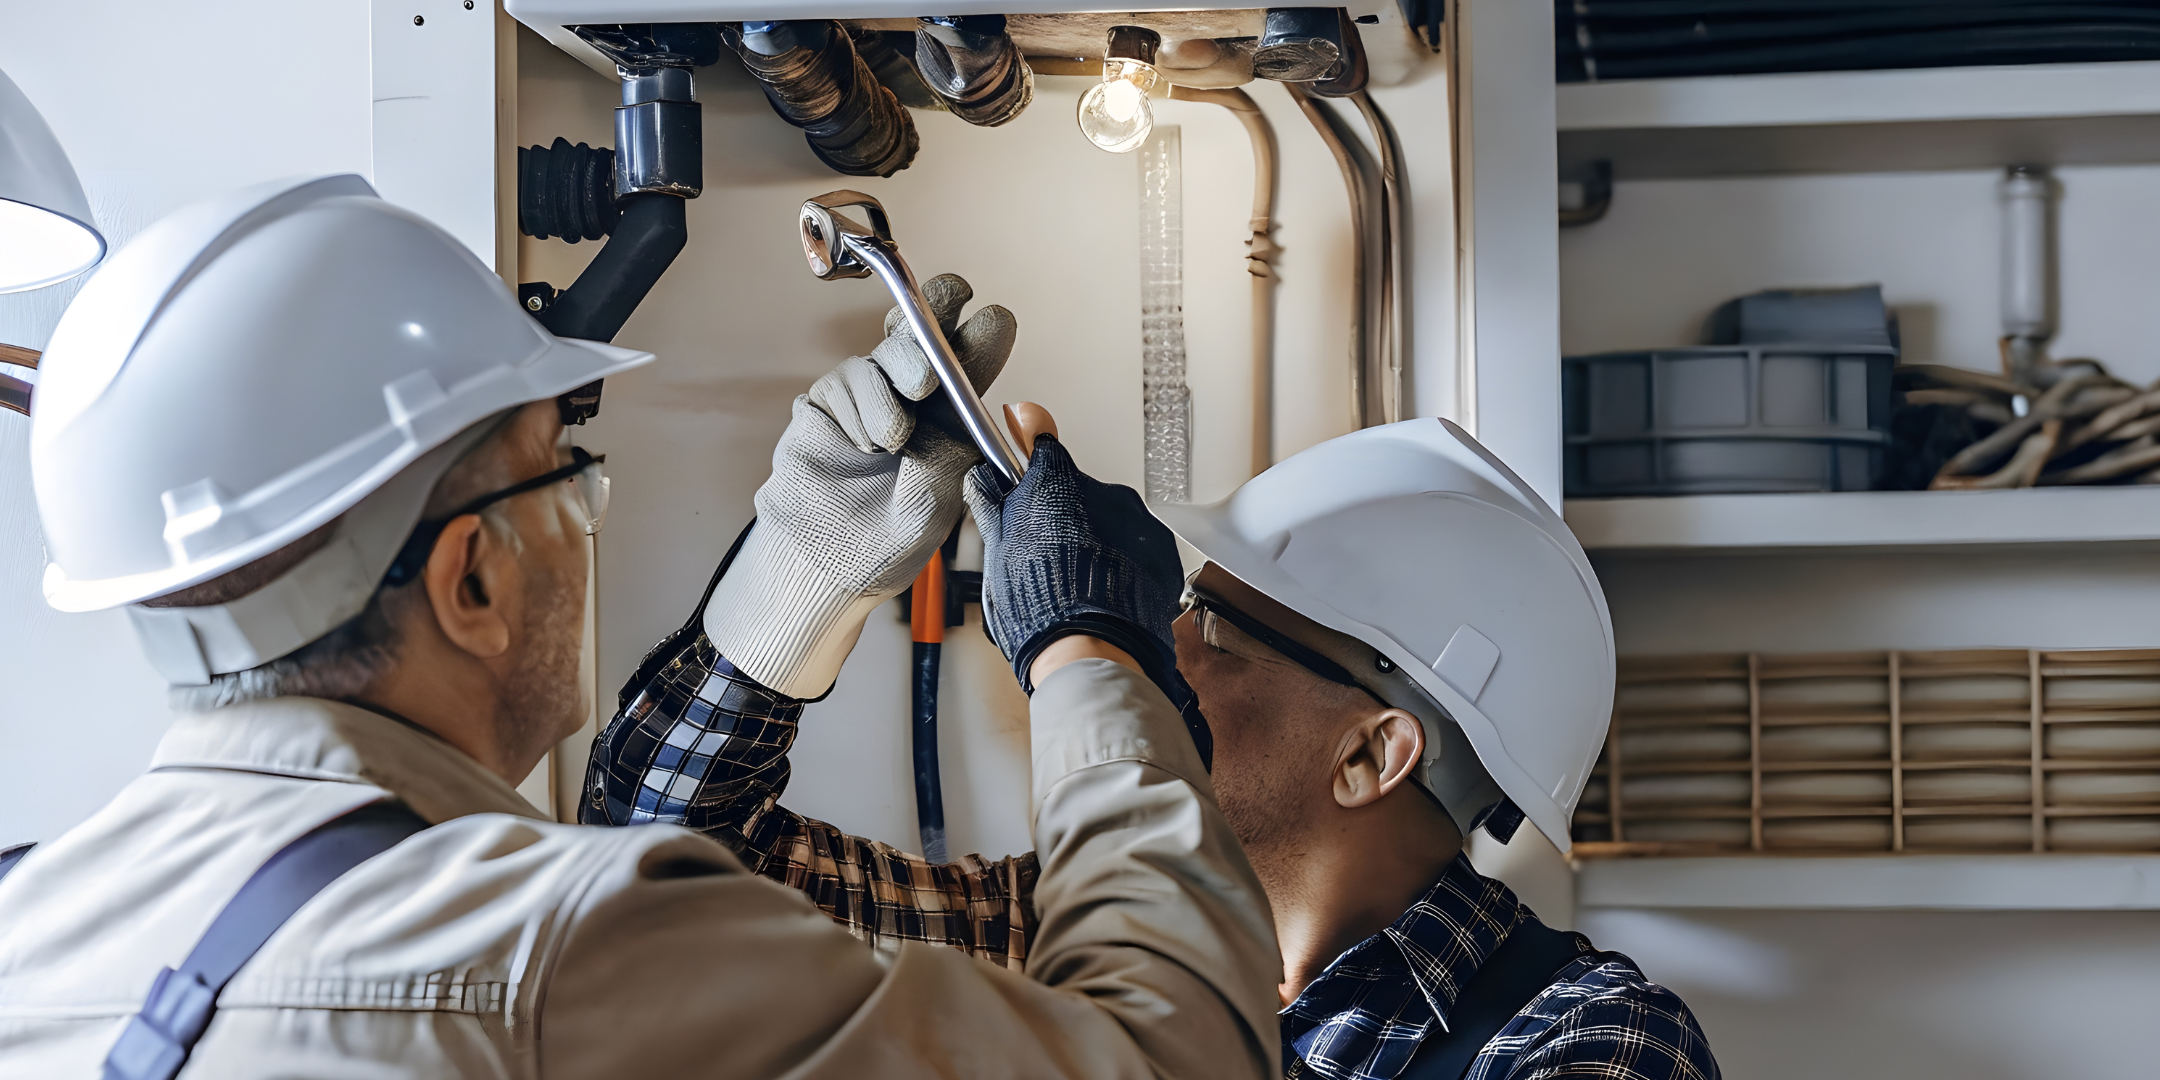
Why Install Heat Cables on Your Home Pipes?
Installing heat cables is a smart, cost-effective way to protect your pipes from freezing during winter. When temperatures drop, heat cables keep water in your pipes from solidifying and causing potentially costly bursts. They’re relatively easy to install, energy-efficient, and can be managed with a thermostat or timer to minimize energy use.
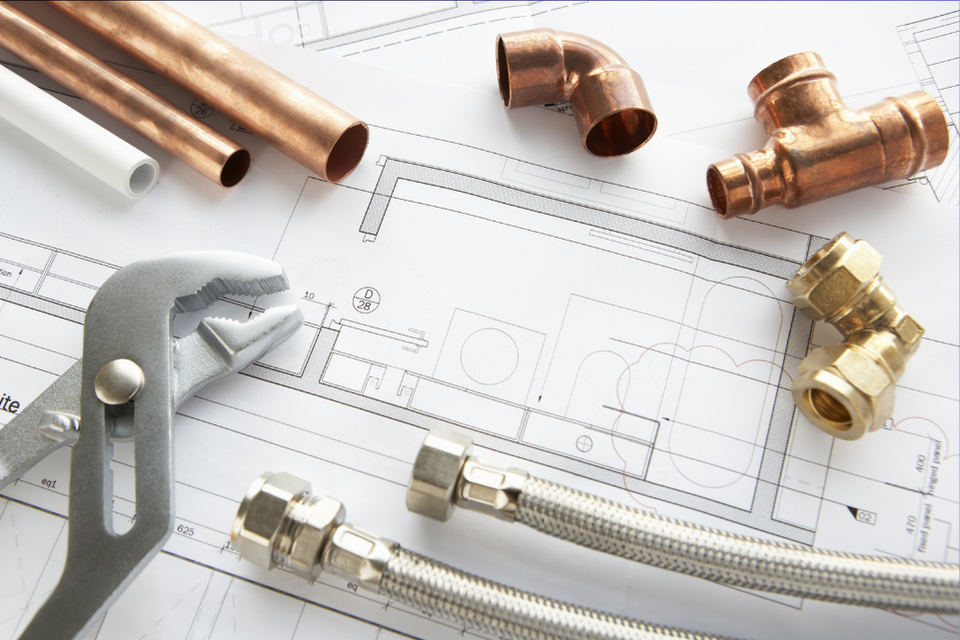
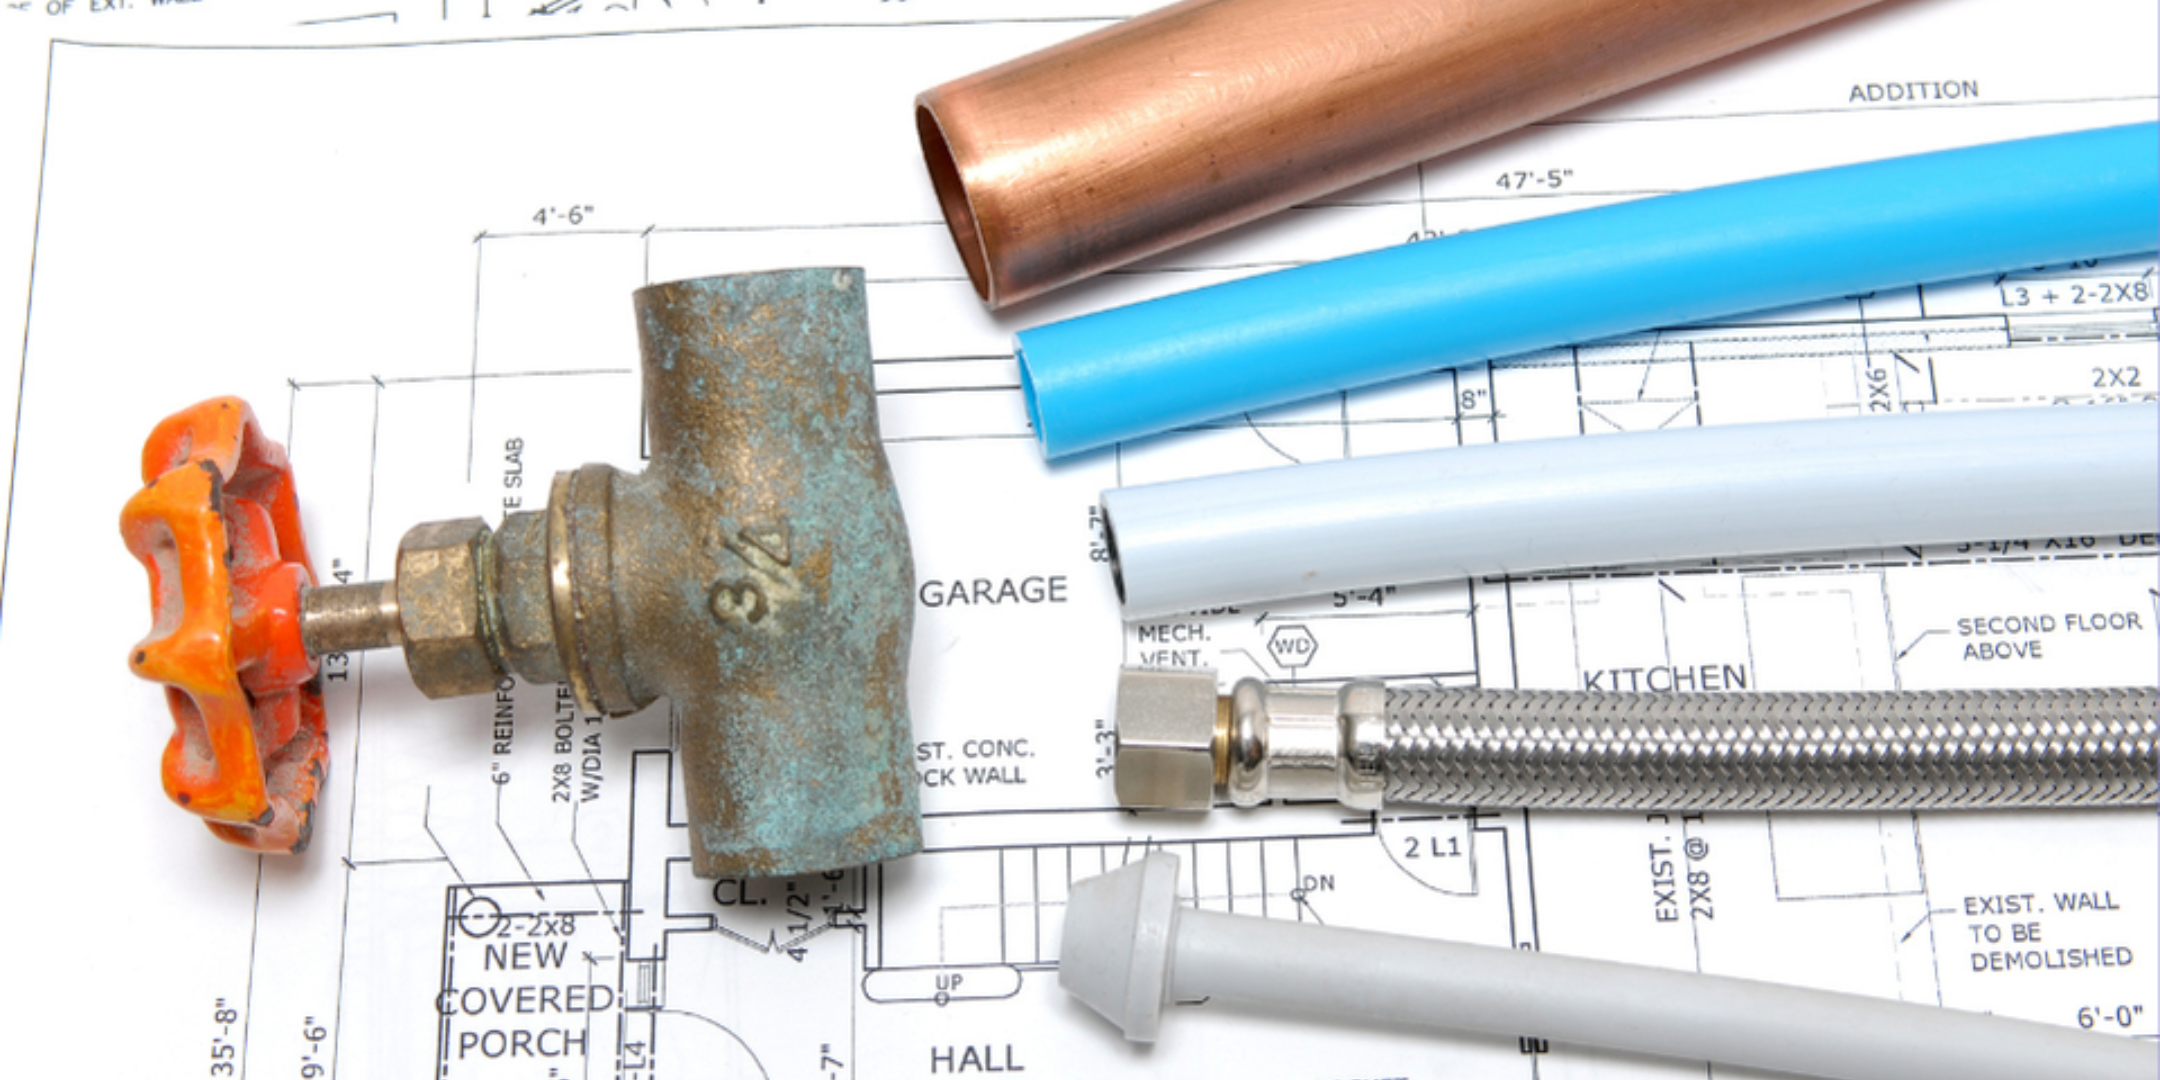
Tools and Materials You'll Need
Before you start, gather the following tools and materials:
- Heat cables (ensure they are the correct length for your pipes)
- Electrical tape
- Pipe insulation
- GFCI outlet (if your heat cables aren’t pre-wired with one)
- Cable ties or clips
- Insulated rubber safety gloves
Step-by-Step Guide to Installing Heat Cable
1. Measure Your Pipes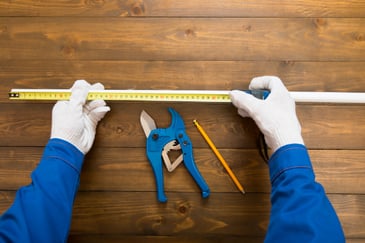
Even before you run to the store or place your online order, begin by measuring the length of the pipes you need to protect. This will determine the length of heat cable you’ll need.
Tip: Always buy a bit more cable (a foot is a good buffer) than you think you’ll need – you can never be too safe!
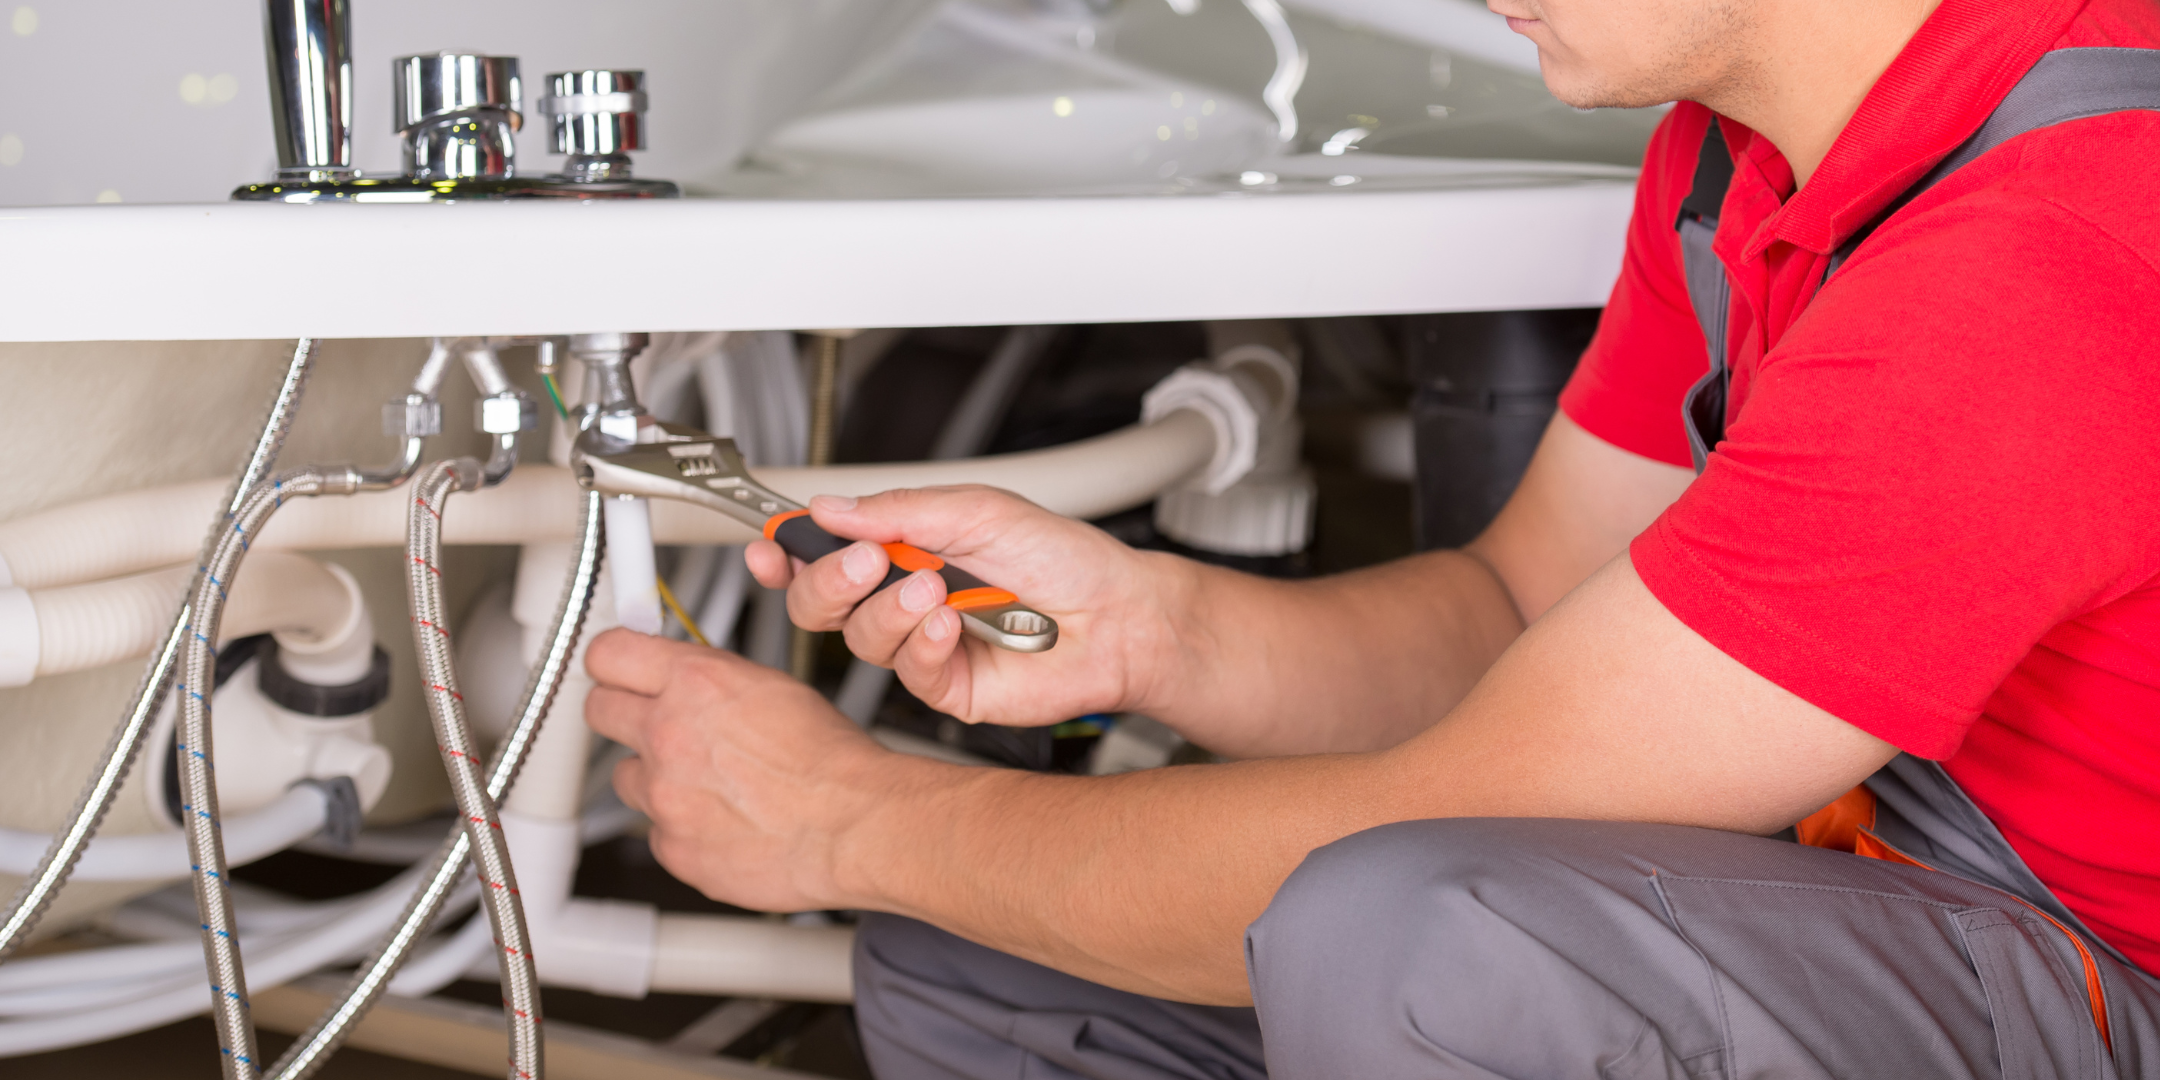
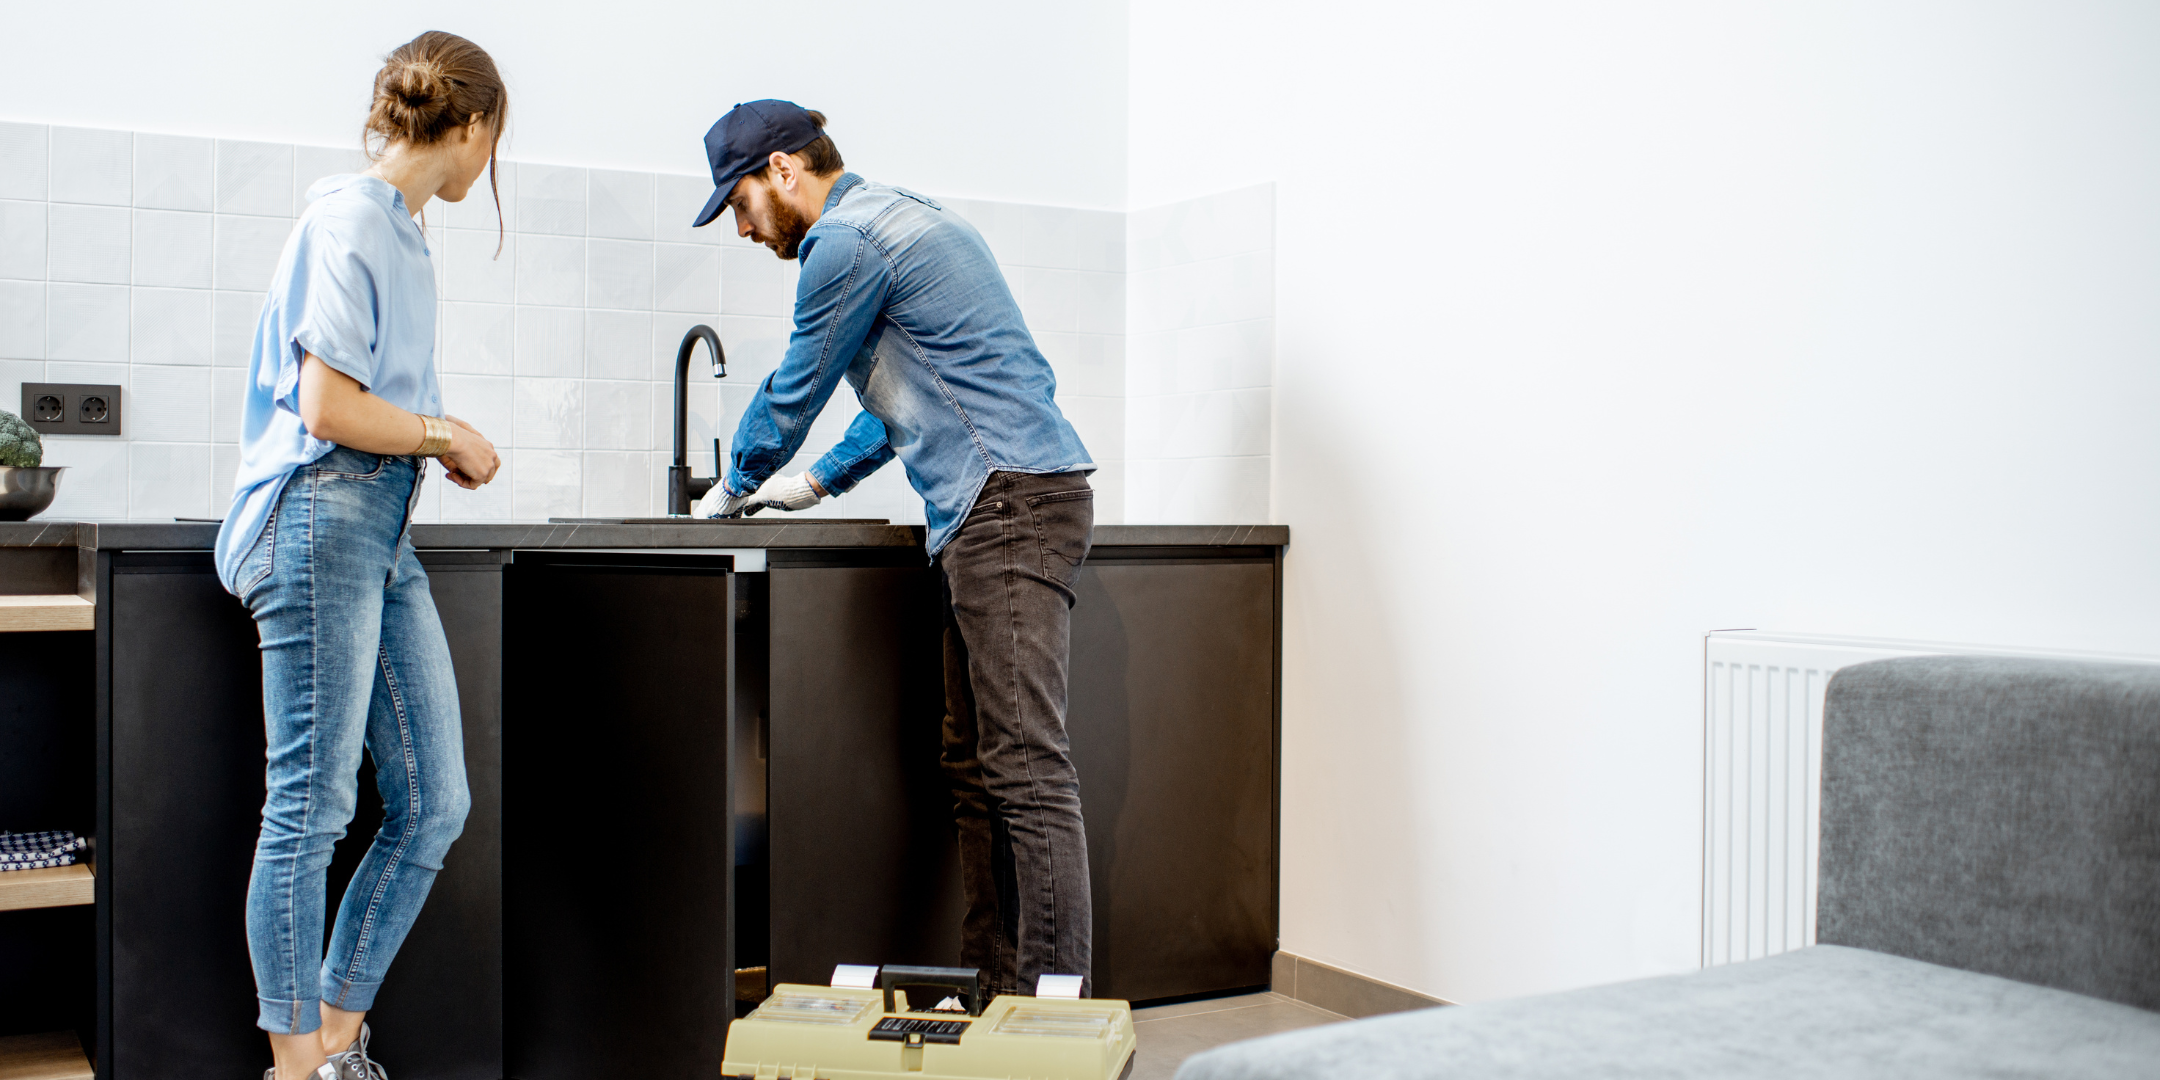
2. Prepare the Pipes
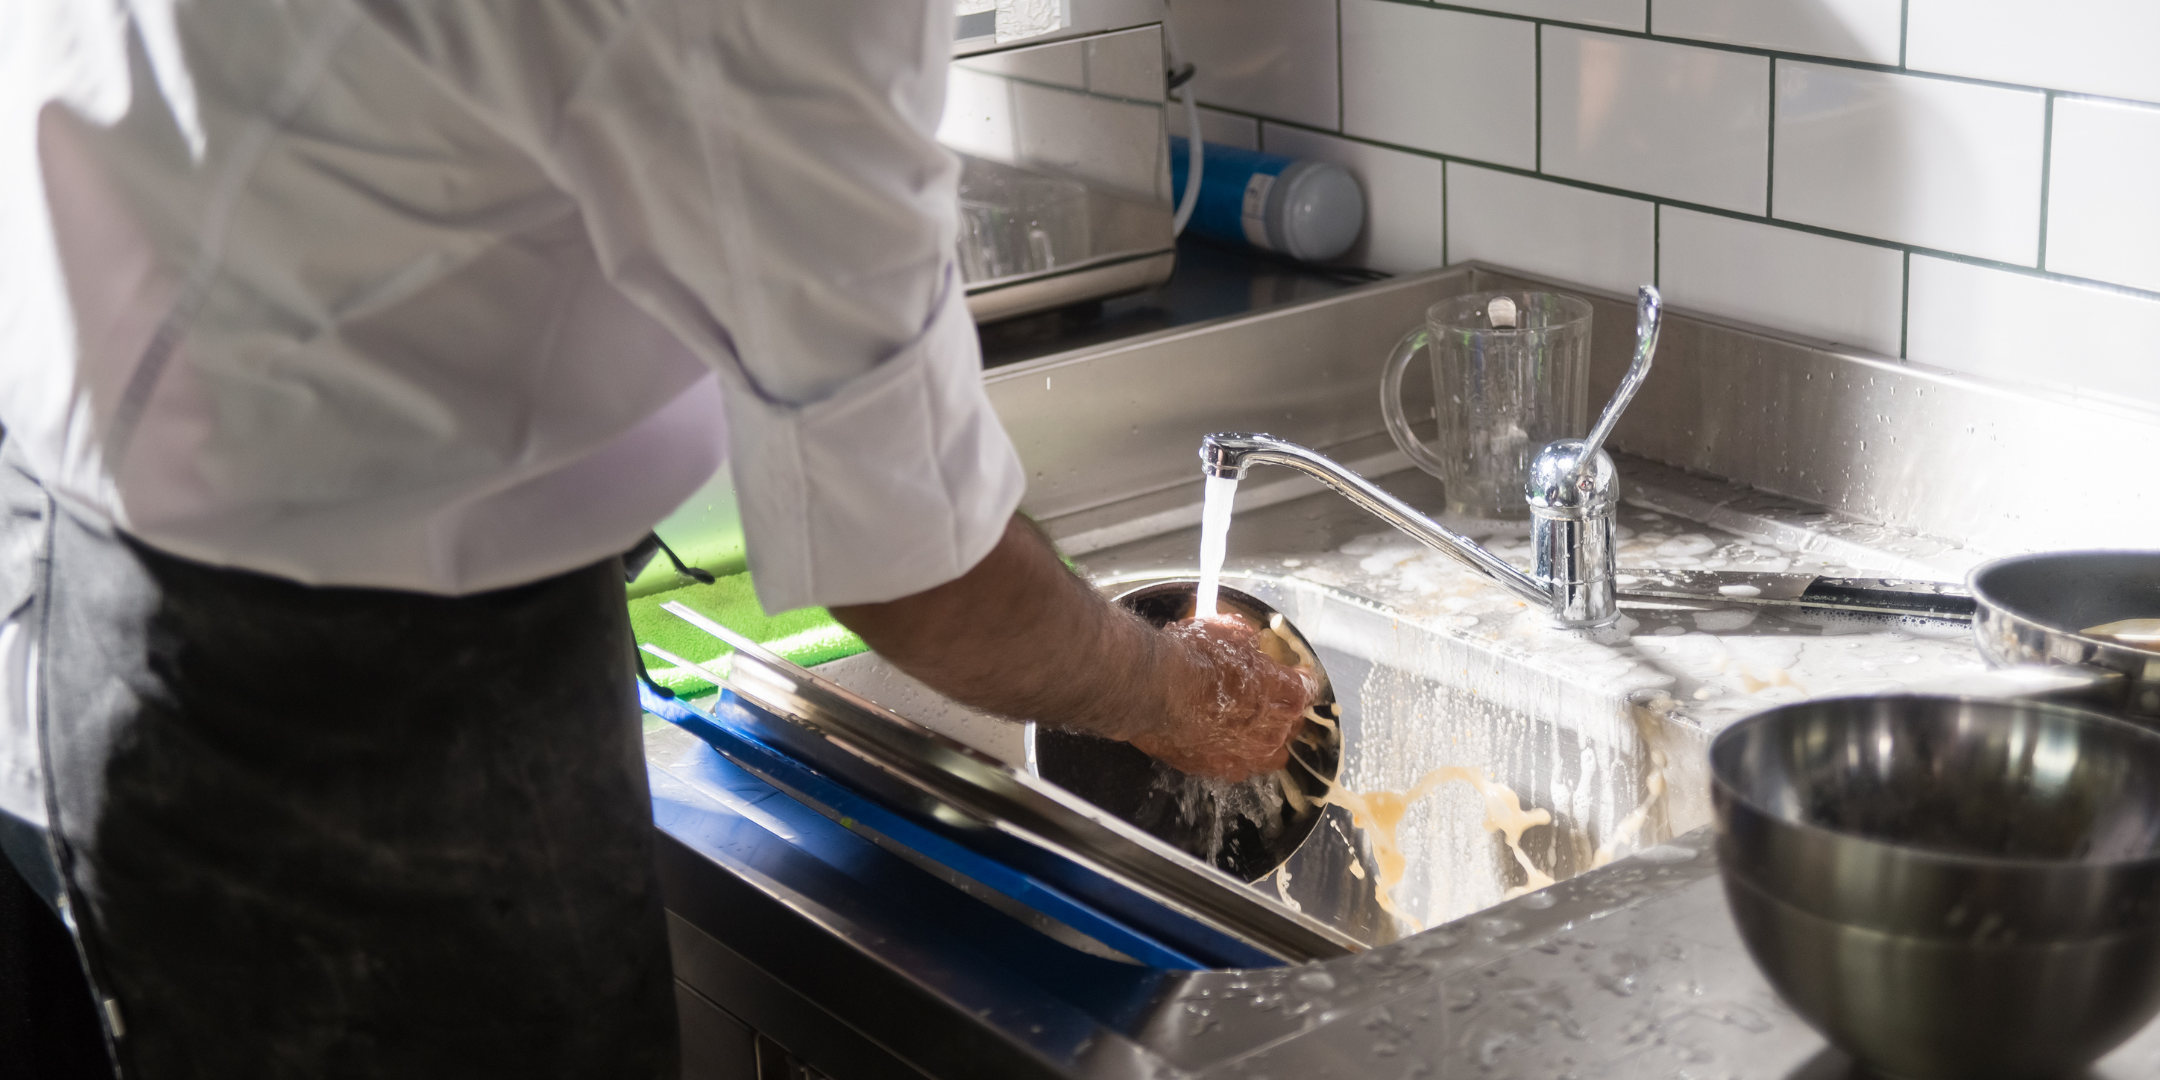
Cleaning your pipes thoroughly before installing heat cables is crucial for their proper function and safety.
Start by wiping down the pipes with a dry cloth to remove loose dust and debris. For more stubborn dirt or grease, use a mild dish soap mixed with warm water, gently scrubbing the pipes with a damp cloth. Be careful not to soak the pipes; the goal is to clean, not saturate.
Afterward, wipe the pipes with a clean, damp cloth to remove any soap residue, then dry them completely with a towel or allow them to air dry. Finally, run your hand along the pipes to ensure they are fully dry – any remaining moisture can reduce the cables’ effectiveness and pose electrical risks.
By ensuring your pipes are clean and dry, you help the heat cables adhere securely and work effectively to prevent freezing.

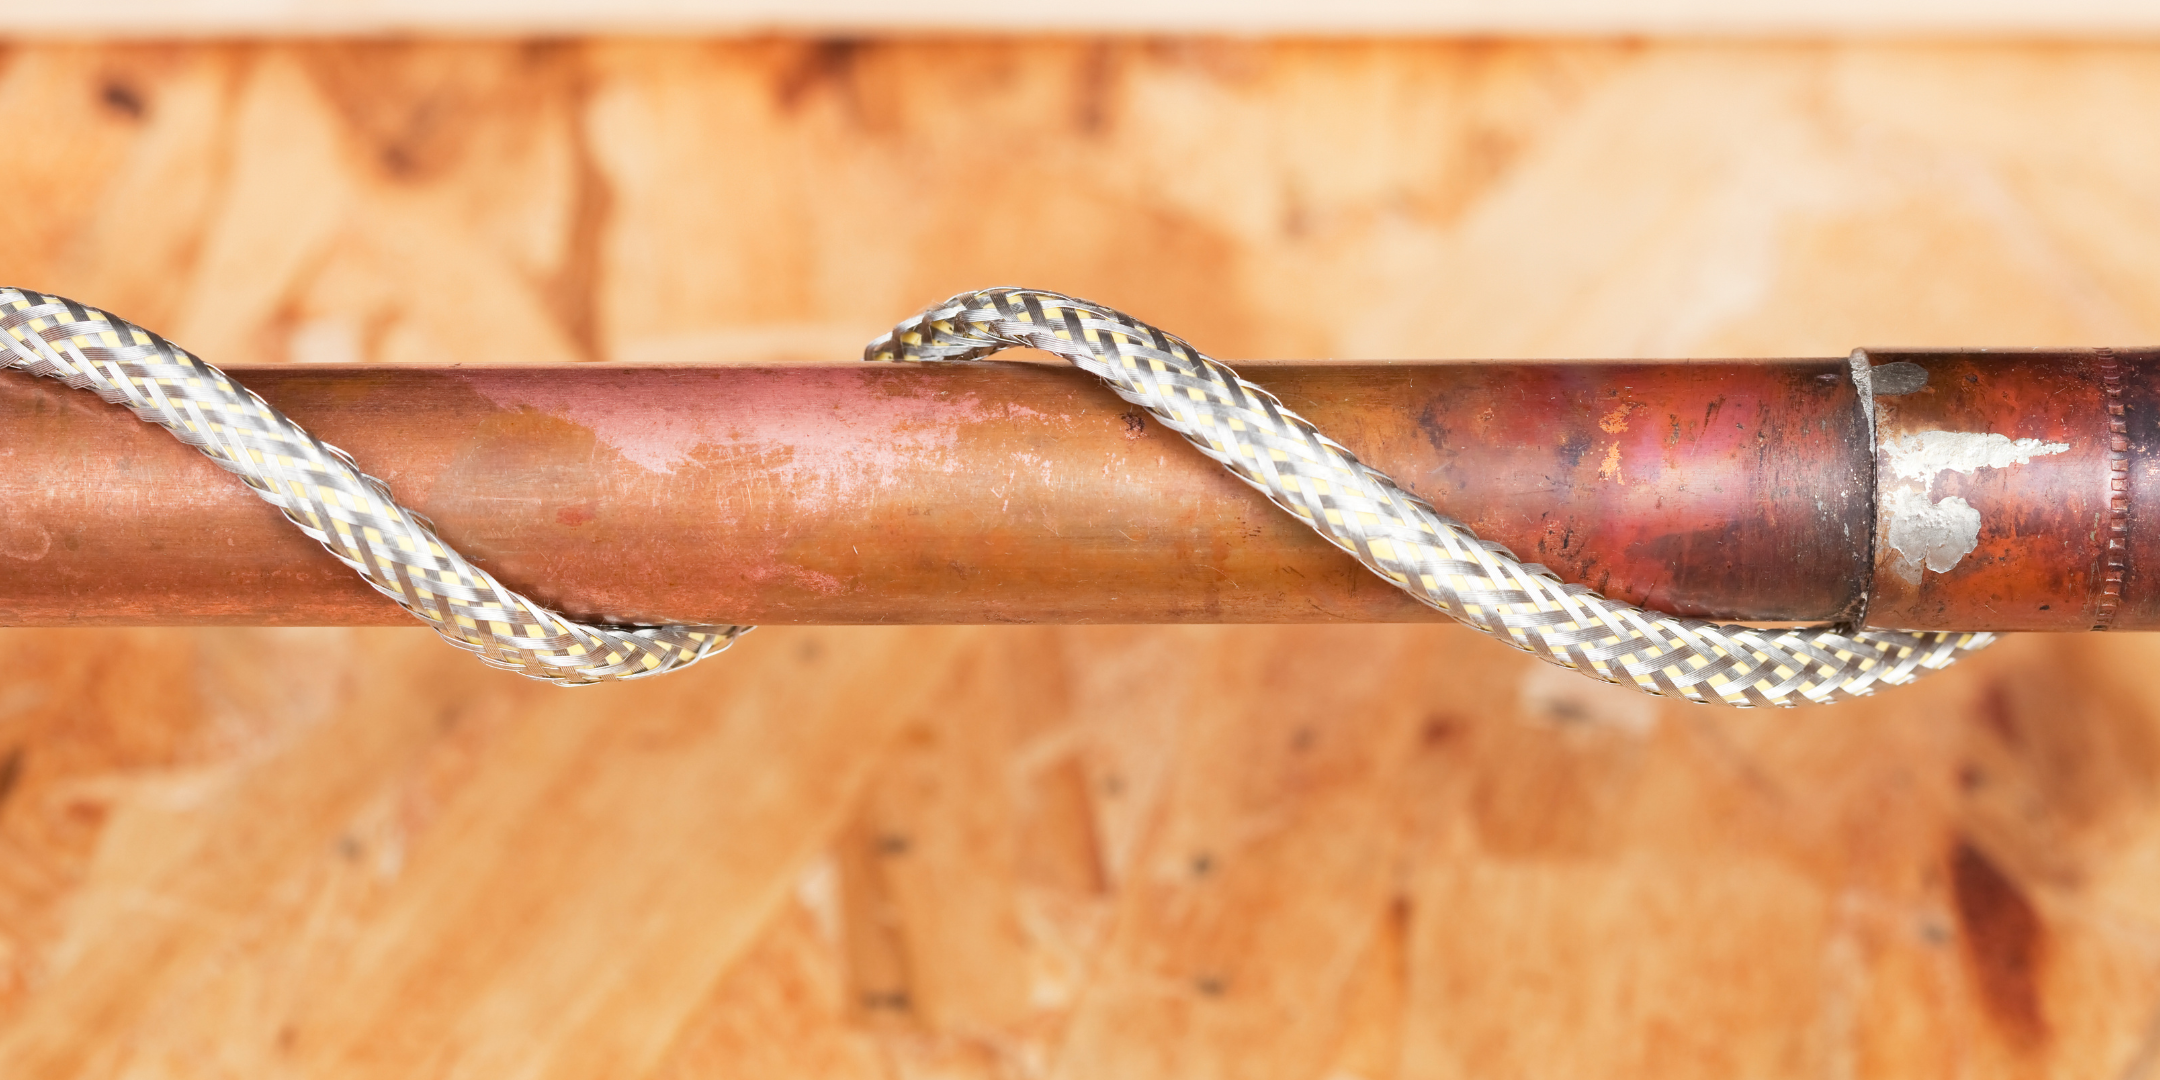
3. Attach the Heat Cable
Attaching the heat cable properly to your pipes is a crucial step in ensuring effective protection against freezing temperatures.
Wrap the Cable
Begin by positioning the heat cable at one end of the pipe.
If the pipe is straight, lay the cable along the entire length of the pipe, ensuring it runs parallel to the pipe.
For curved or irregularly shaped sections, wrap the cable around the pipe in a spiral pattern, spacing the wraps evenly to ensure consistent heat distribution.
Make sure the cable makes direct contact with the pipe at all points – this ensures that the heat is effectively transferred to the pipe to prevent freezing.
Secure the Cable
Once the cable is in place, it’s important to secure it firmly so it remains in position. Use electrical tape or cable ties to anchor the cable to the pipe, spacing them about every 12 inches. This prevents the cable from slipping or shifting, which could cause uneven heating or reduce the cable's effectiveness.
When using electrical tape, wrap it tightly around both the cable and the pipe to hold everything in place securely. Avoid over-tightening cable ties, as this can pinch or damage the cable, compromising its ability to heat the pipe properly.
4. Insulate the Pipes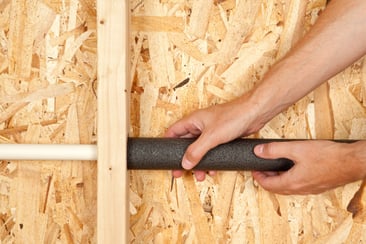
Properly insulating your pipes after installing heat cables is essential for maximizing the effectiveness of the entire system. While heat cables generate the warmth needed to prevent your pipes from freezing, insulation helps trap that heat, ensuring it stays concentrated around the pipes rather than dissipating into the surrounding air. This not only enhances the efficiency of the heat cables but also reduces energy consumption, as the cables won’t need to work as hard to maintain a consistent temperature.
When selecting insulation, choose materials specifically designed for use with heat cables, such as foam pipe insulation or fiberglass wraps. Ensure the insulation fits snugly around the pipes and covers the heat cables completely. Pay special attention to bends, joints, and ends of the pipes, as these areas are more prone to heat loss.
5. Connect to Power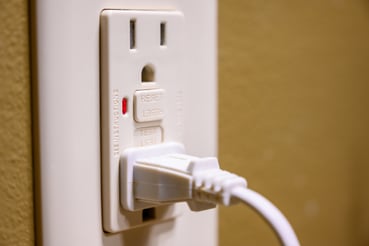
Connecting your heat cables to power is a critical step, and ensuring it’s done safely is essential. Heat cables must be plugged into a Ground Fault Circuit Interrupter (GFCI) outlet, which is designed to protect against electrical shock by shutting off power if it detects any imbalance in the current. If your heat cables don’t come with a pre-wired GFCI plug, it’s important to hire a licensed electrician to install one. This is not a step you should skip or attempt to do yourself unless you’re qualified, as improper installation can lead to serious safety hazards, including electrical fires or shock.
Before plugging in the heat cables, inspect the outlet to ensure it’s functioning correctly. You can test a GFCI outlet by pressing the "test" button – if the "reset" button pops out, the outlet is working properly. If not, or if the outlet is damaged, it’s crucial to have it repaired or replaced by a professional before proceeding. Never use an extension cord or power strip to connect the heat cables, as these can overheat and increase the risk of fire. Always plug the heat cables directly into the GFCI outlet for maximum safety and effectiveness.
DIY Made Easy with A&E
Frozen pipes can feel overwhelming, but now you know they don’t have to be. What started as a worry about cracks, leaks, and expensive repairs has turned into clear steps you can take to keep your home safe.
You’ve seen how heat cables work, why proper installation matters, and how ongoing maintenance gives you long-term protection. And you’ve gained the kind of knowledge that comes from years of real-world experience—broken down in a way that makes it easier to actually use.
Winter will always bring challenges, but you don’t have to meet them unprepared. Your next step is simple: pair your heat cables with the right insulation. It’s the finishing touch that ensures your system works at peak efficiency and that your home stays warm, dry, and worry-free all season long.
Topics:


